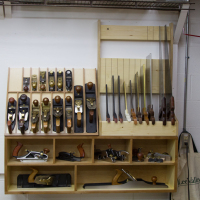
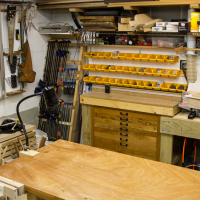
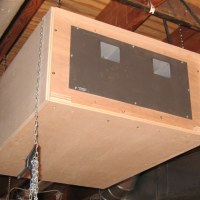
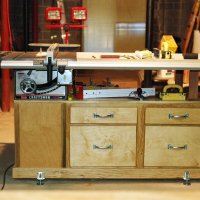
These pictures are intended for my fellow woodworkers. Many of the projects I have completed to build my shop are common to other woodworker’s shops. Hopefully others will fine these helpful.
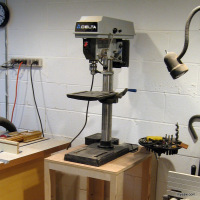
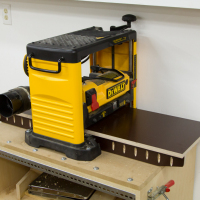
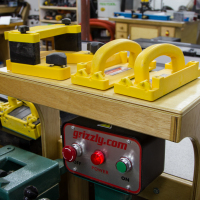
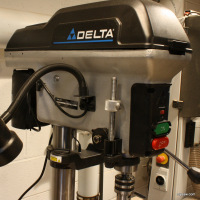
I had purchased a table top drill press from Home Depot. Had watched it in the store and finally it went on clearance for $100. Good Deal.
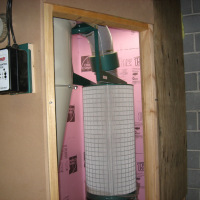
I built a home for it by extending the chop saw table. All was well until I installed the cyclone. Then the DP had to move. So I built a quick table from 3/4″ ply and Kreg Pocket Holes. Came together very easily and worked great.
I built a home for it by extending the chop saw table. All was well until I installed the cyclone. Then the DP had to move. So I built a quick table from 3/4″ ply and Kreg Pocket Holes. Came together very easily and worked great.
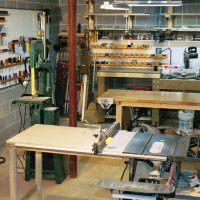
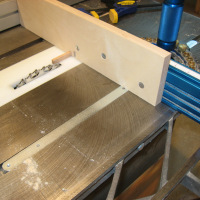
Once the Craftsman table saw was up and running I built an extension for the table. This incorporated the fence guides that I had added to the saw. By moving the fence guides right, I was able to secure the table extension to the fence guides. This made the overall setup much more stable. This gave me a 40″ + rip capability.
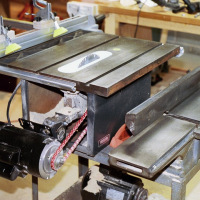
This was my first power tool. I purchased this very used. I completely rebuilt the saw, putting many man hours and dollars into the saw. It served me well. I made many shop projects and a few real projects using this saw.
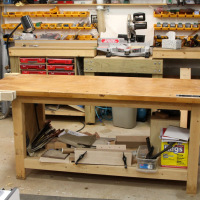
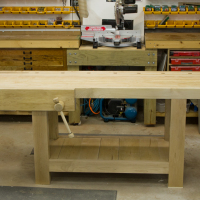
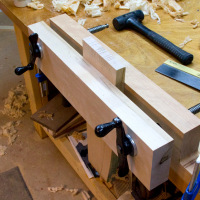
Every woodworking shop needs a workbench. In 2003 when I first started my work shop I had a very few tools. I did have a barely working table saw, a chop saw and a Kreg Pocket Hole jig. So I decided that a solid core door workbench would work for me.
Note: This page was restructed 8/14/2015. It now shows the newest projects first and converted to mobile reponsive design.
